
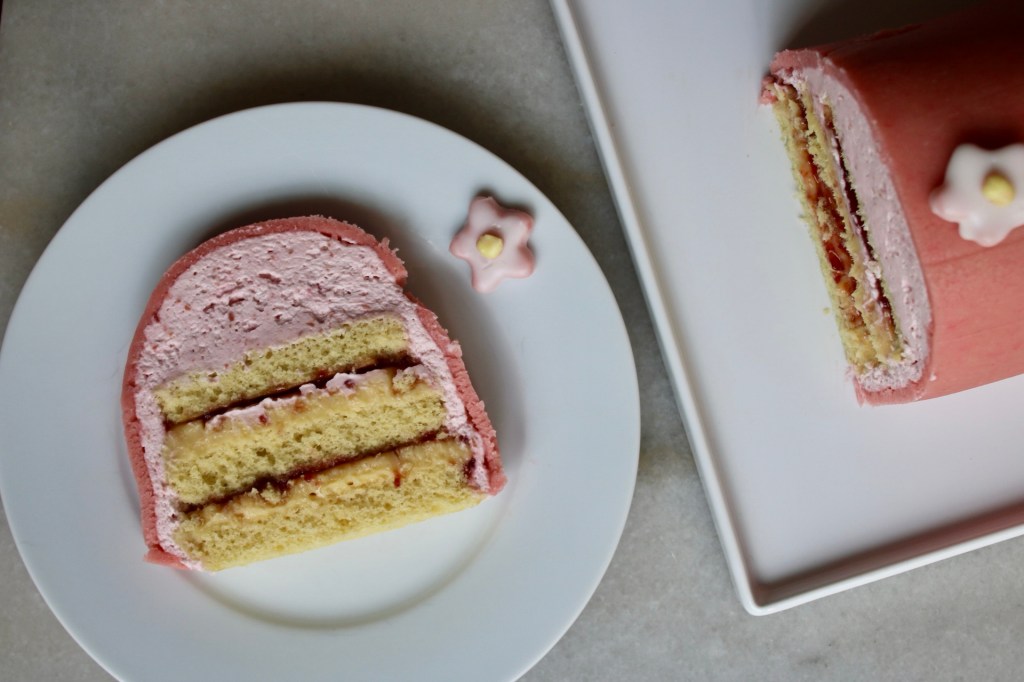
Almost too cute to eat! Caramelized white chocolate crémeux and raspberry jam layered with soft sponge and topped with raspberry whipped cream and marzipan. 459: Daisy Princess Cake
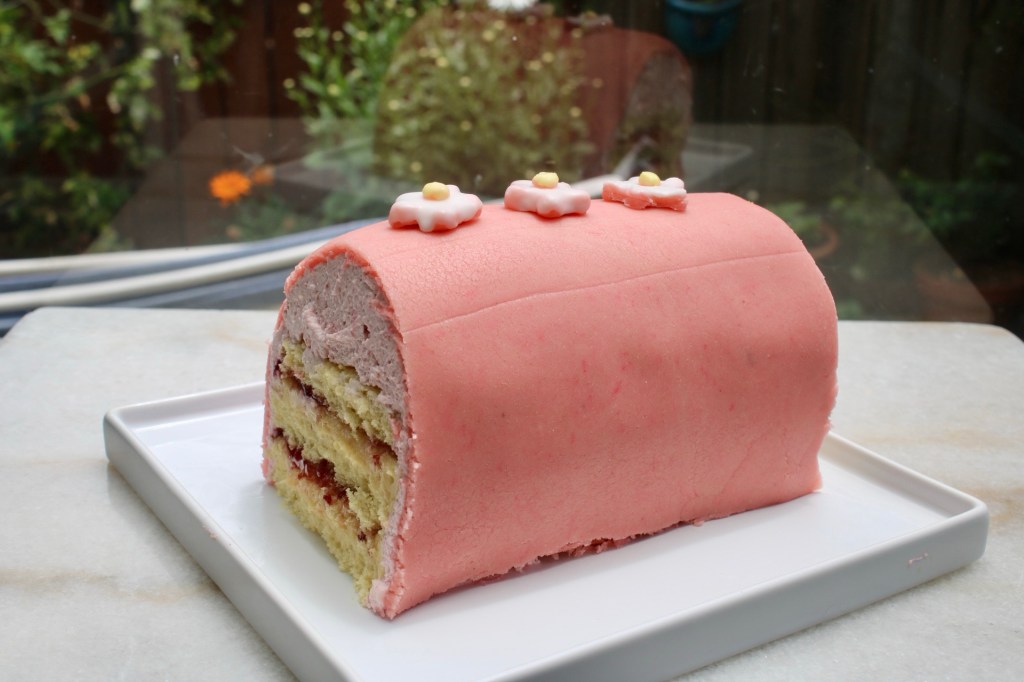
The inspiration for this adorable cake started with Sophie Bamford’s log-shaped princess cake series where she’s doing unique flavor/color variations to match each Disney princess. The shape is so smart – no struggles trying to get the marzipan to lay flat on a round cake. Then I saw this recipe in Edd Kimber’s Chocolate Baking and it jumped to the top of my to-bake list.
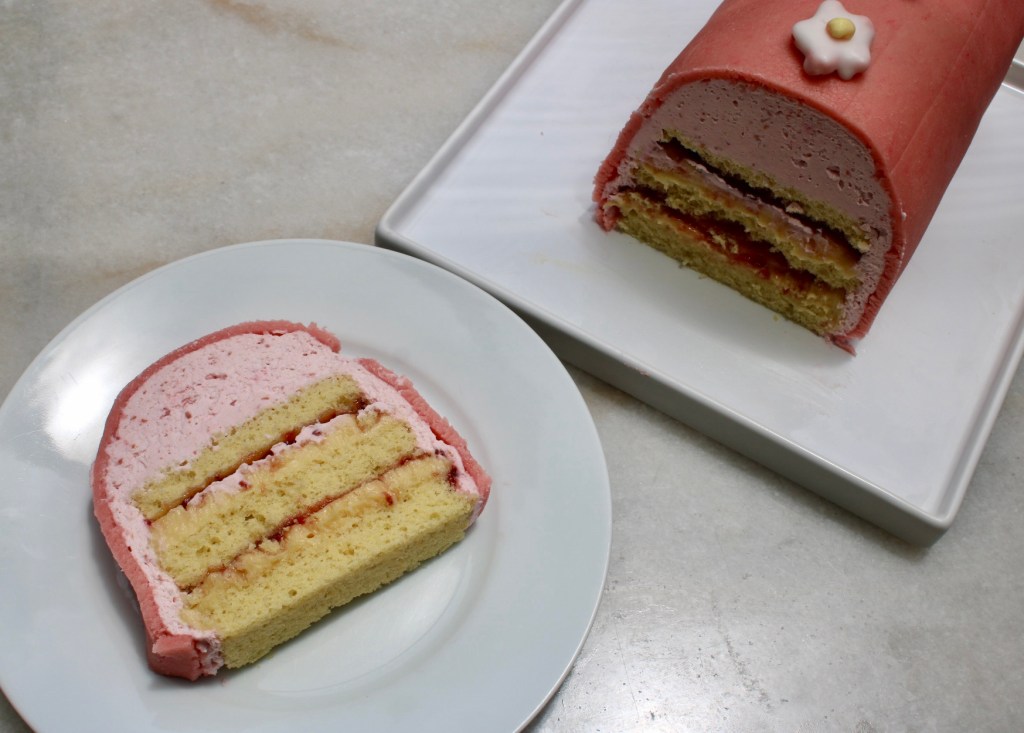
The tart raspberry jam balances out the sweetness of the crémeux. The slice shot is giving PB&J. Does the almond in the marzipan count as a nut butter? Close enough!
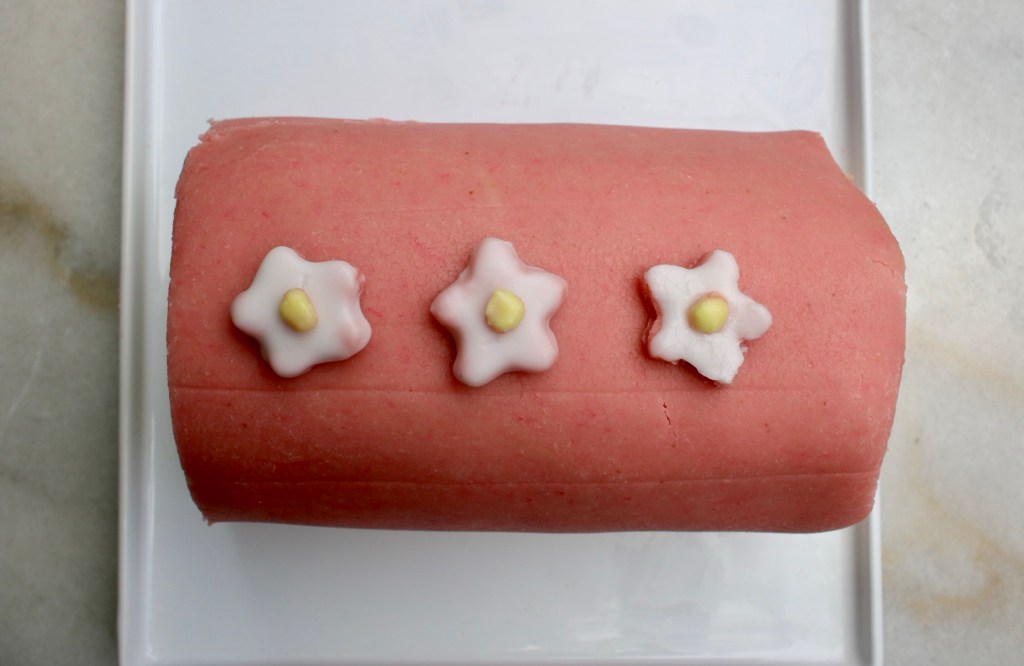
The non-pink marzipan I made wasn’t light enough to pull off the pale daisy petal look so I ended up painting them with a water icing.
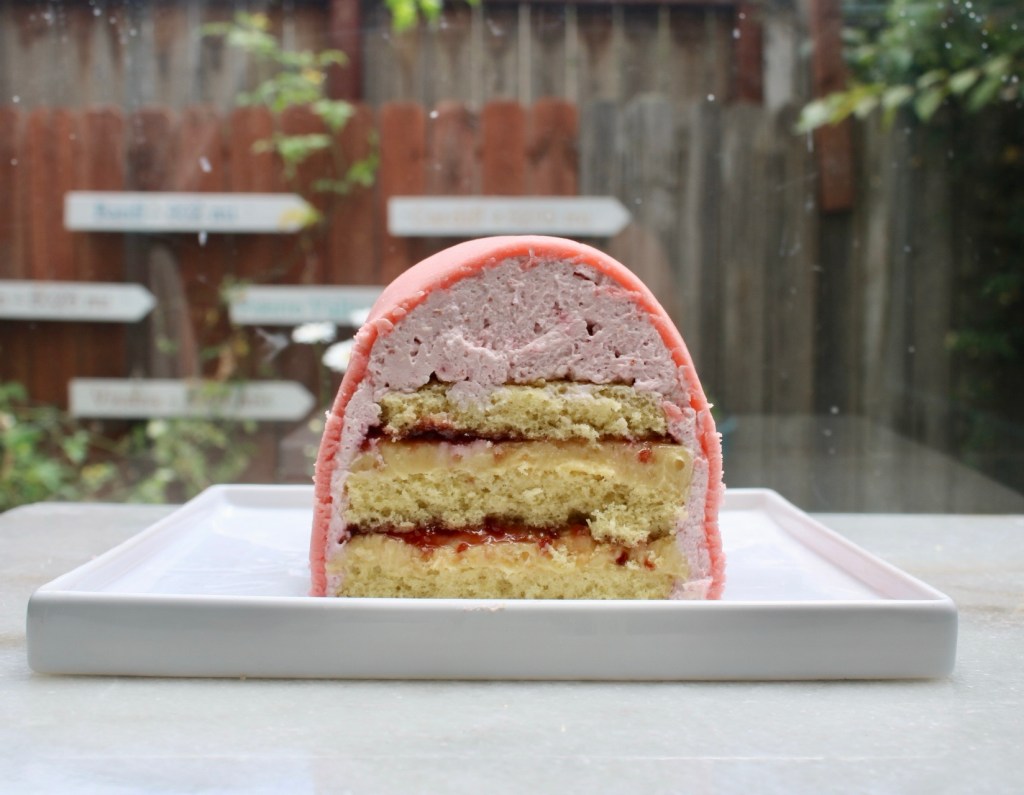
I’m so impressed the whipped cream held its shape when I cut into it. Warm knife + confidence = success!
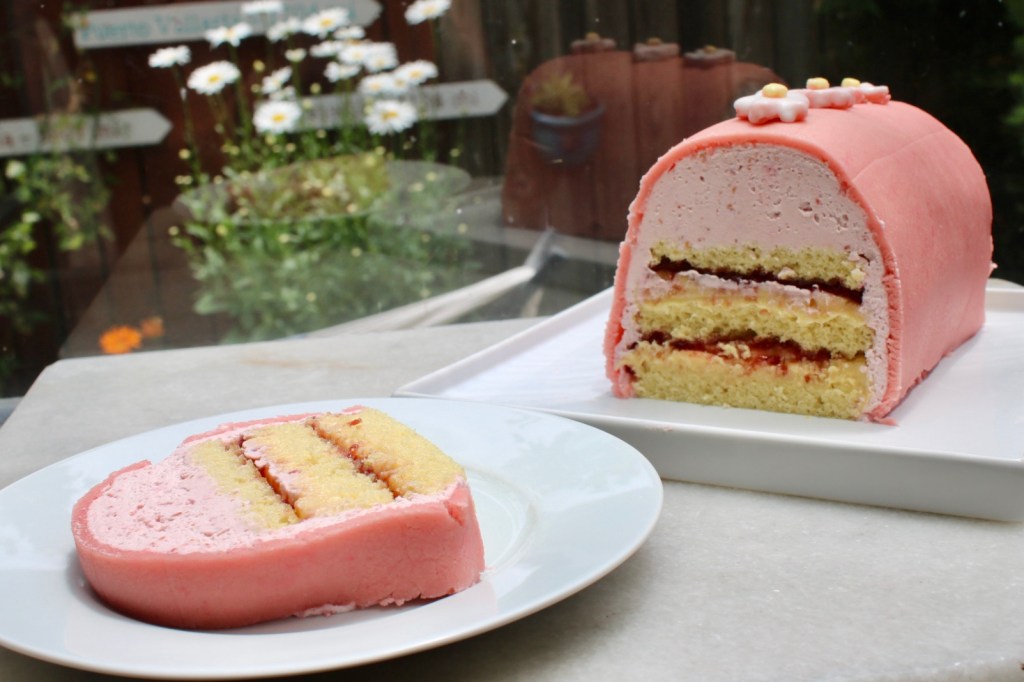
Peep the actual daisies blooming in the background!
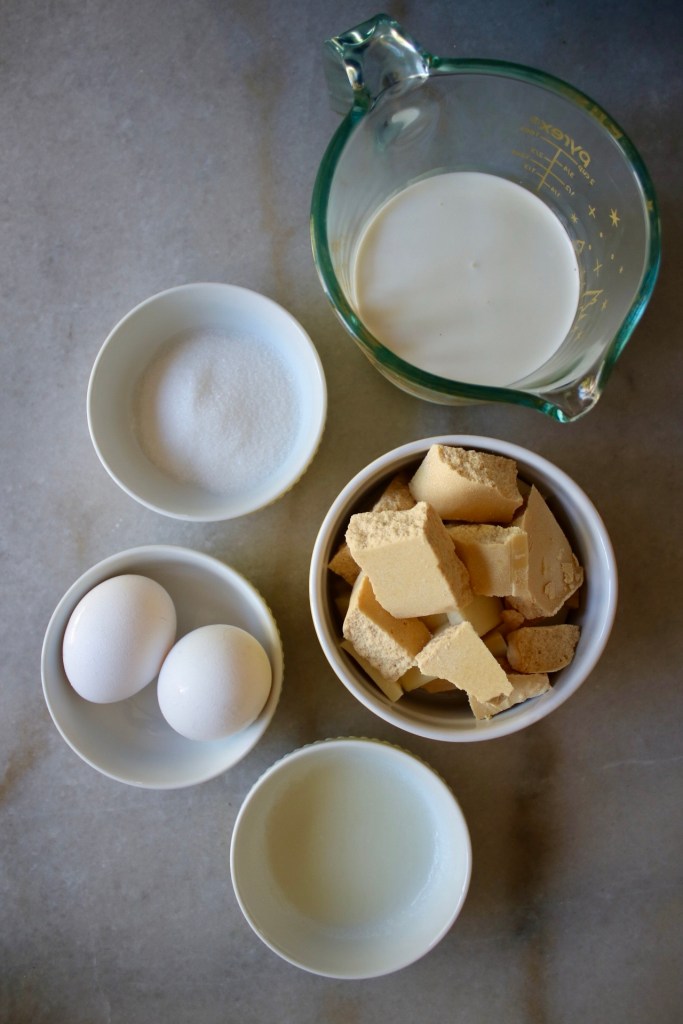
Instead of my tried-and-true pastry cream, I went with Edd’s white chocolate crémeux. It’s texturally the same, but instead of setting it by adding cornstarch and cooking til thick, you make a thin custard and set it with chocolate and gelatin. I was a little skeptical but it worked out surprisingly well.
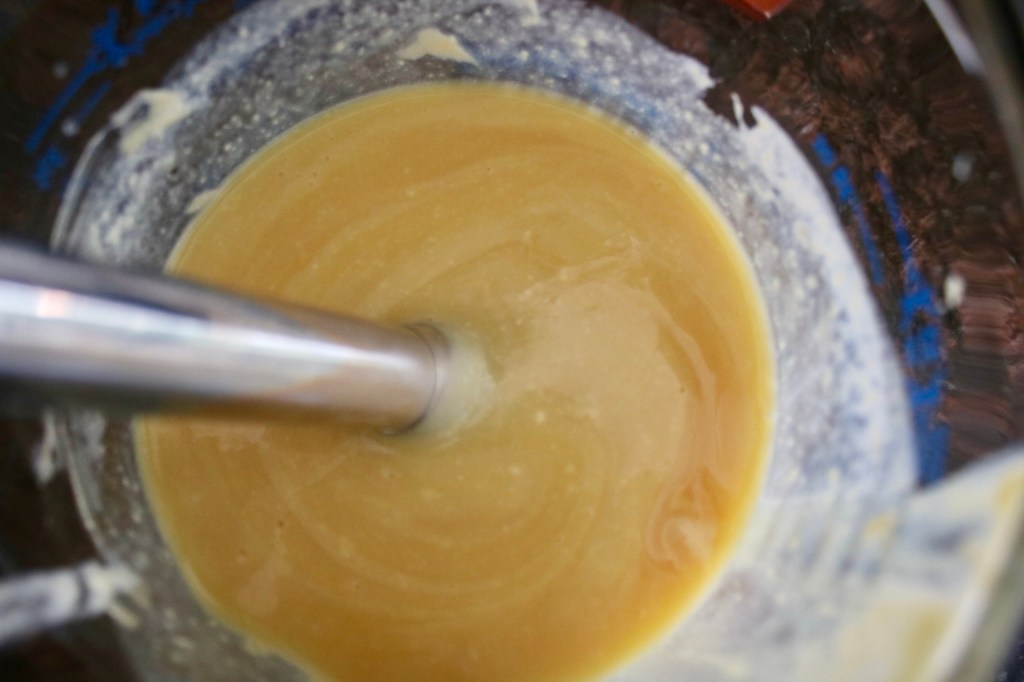
Immersion blender swooping in to smooth things over, literally.
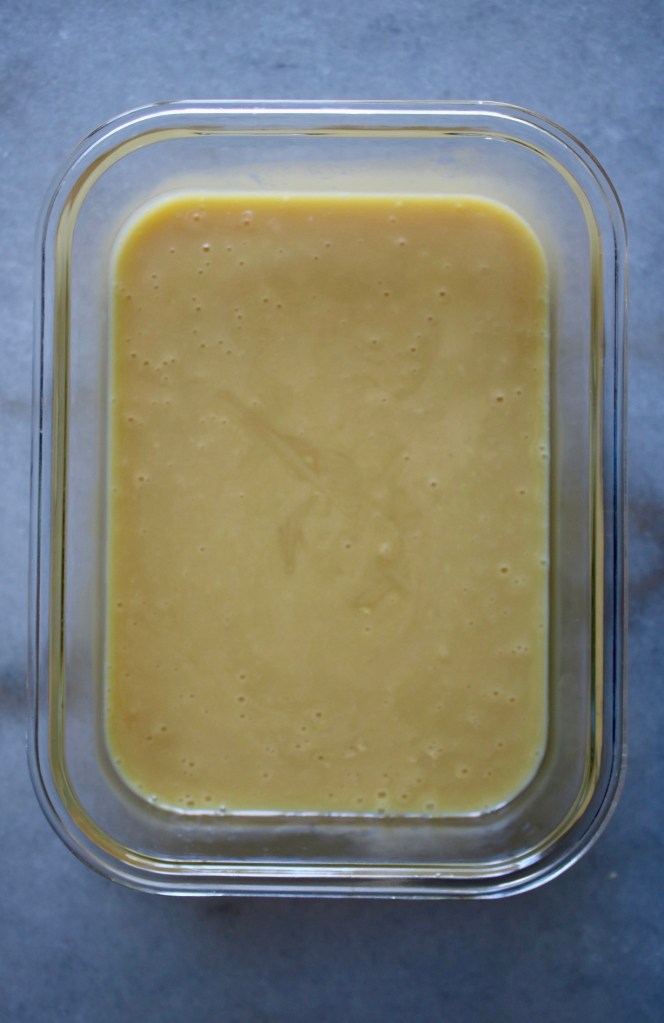
Ready for a fridge nap.
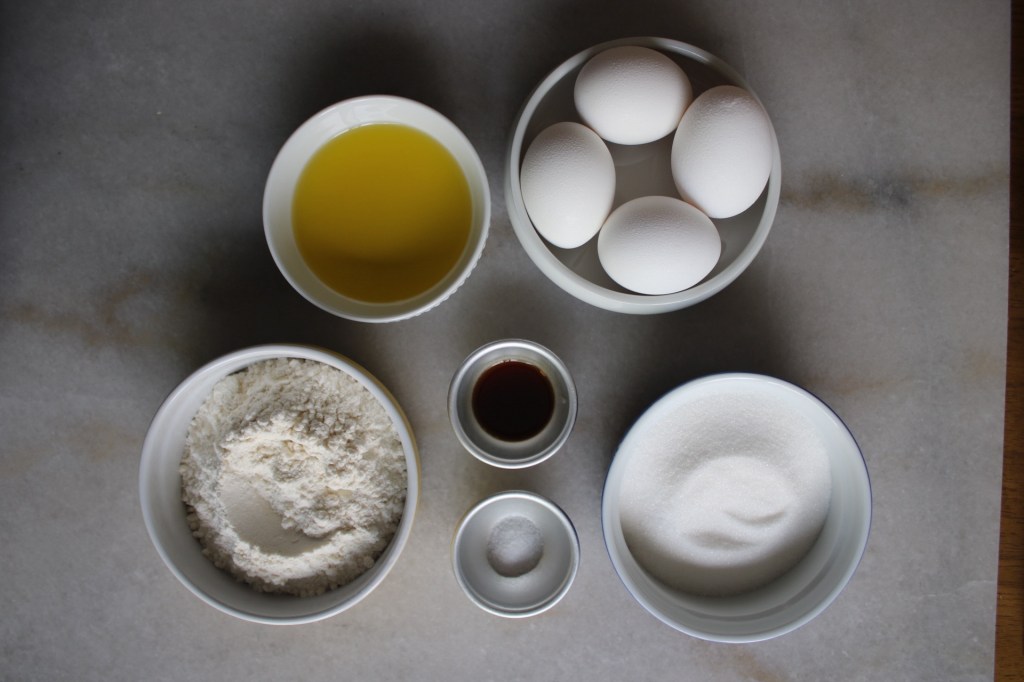
Day-before item #2: cake layers. Splitting these 4-5 element bakes into a two day process is my new move.
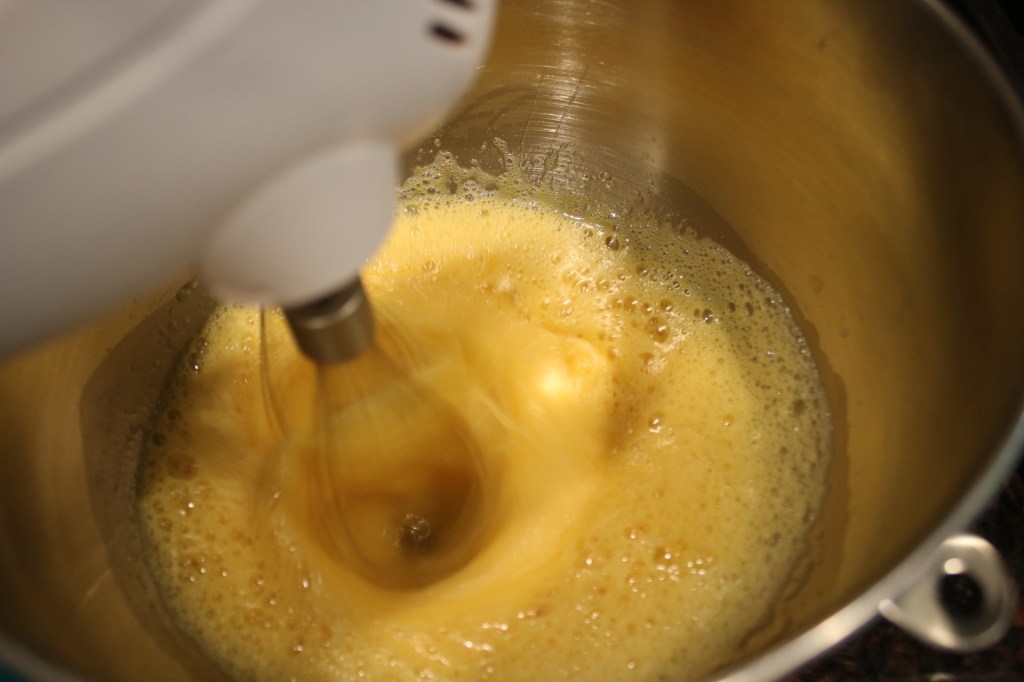
Bain-marie blitz.
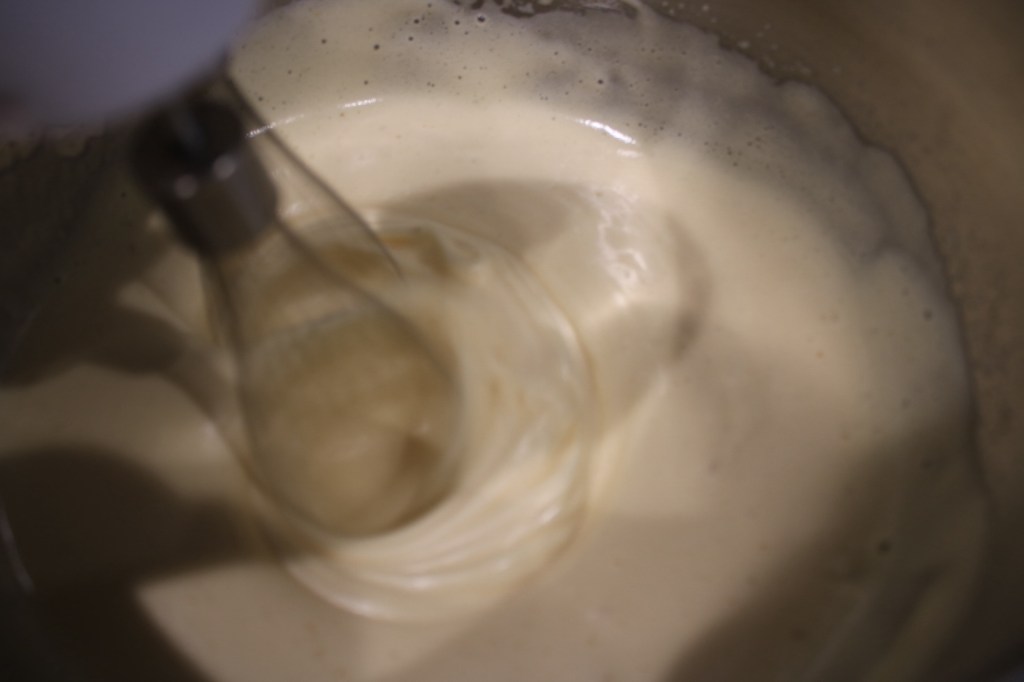
Floof!
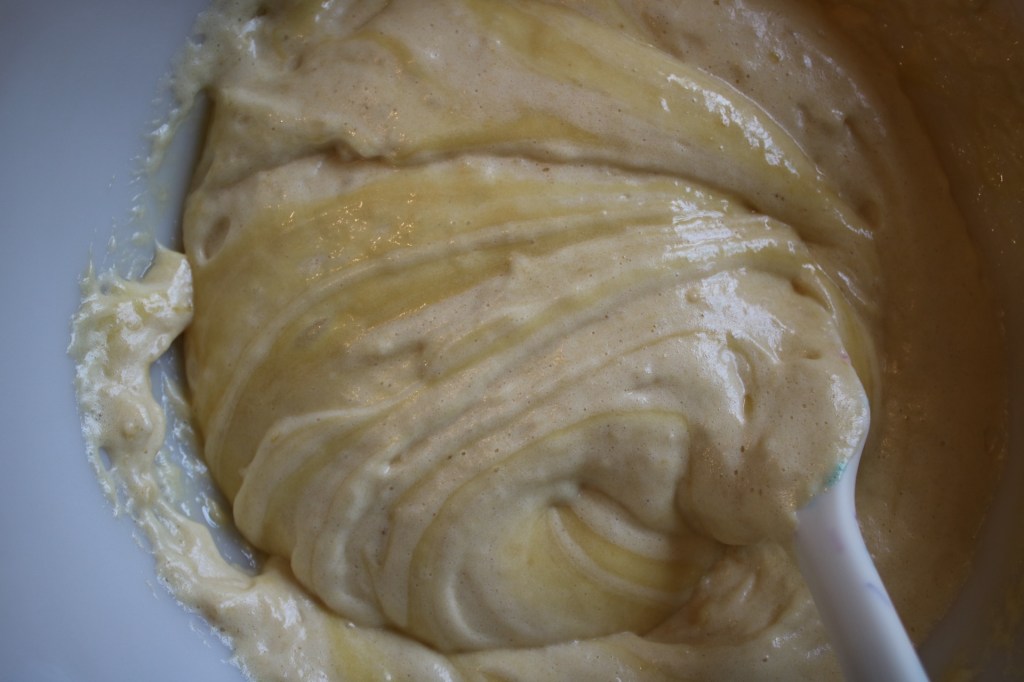
Part of me always wants to stop at the swirly stage. Temporary art at its finest.
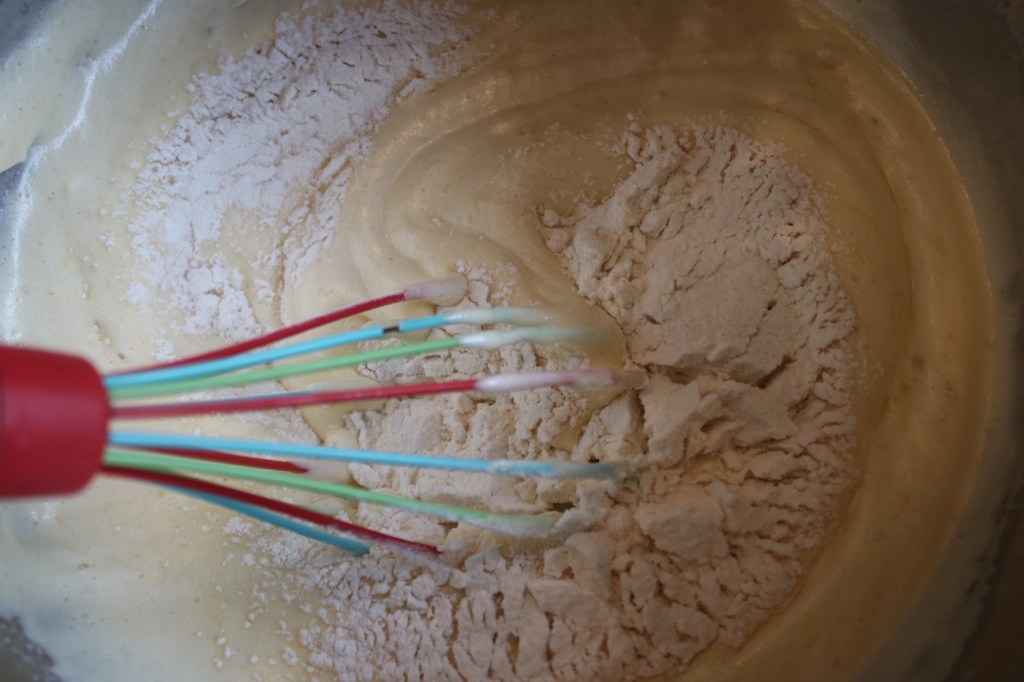
Edd’s recipe suggests using a balloon whisk to minimize how much air is knocked out of the batter. While it feels counterintuitive, it worked like a charm!
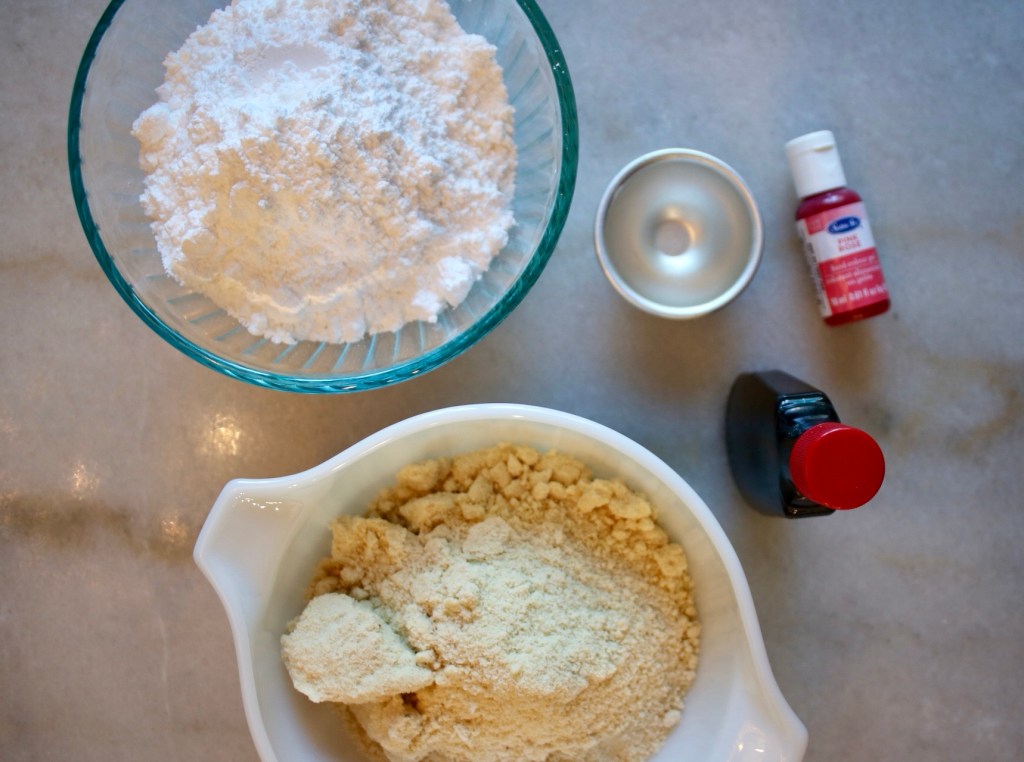
Deconstructed marzipan.
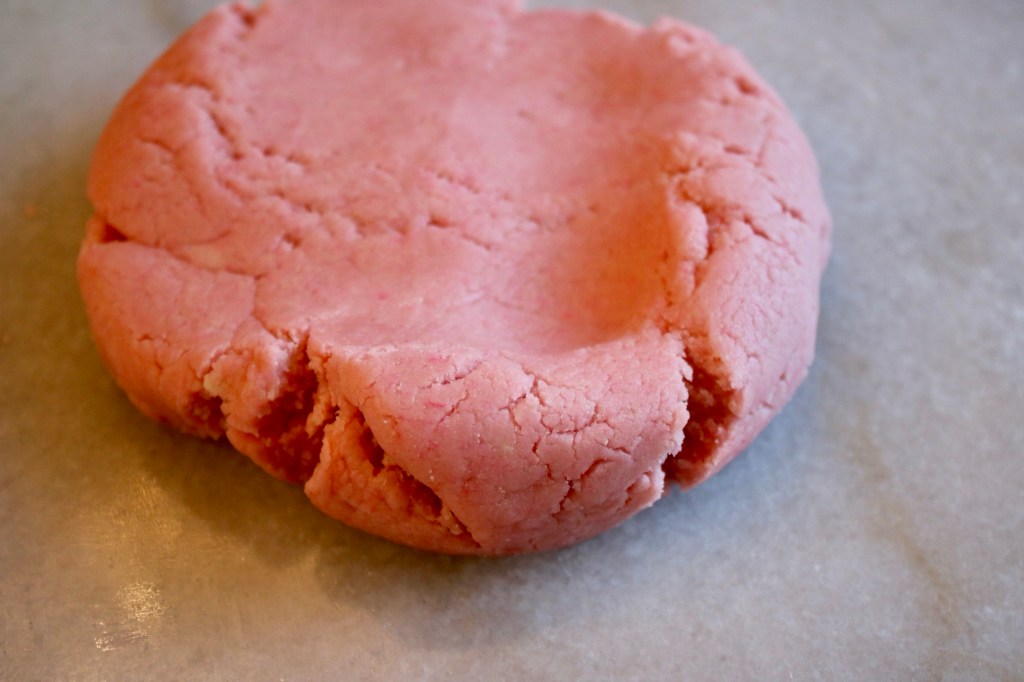
Blended and ready to roll.
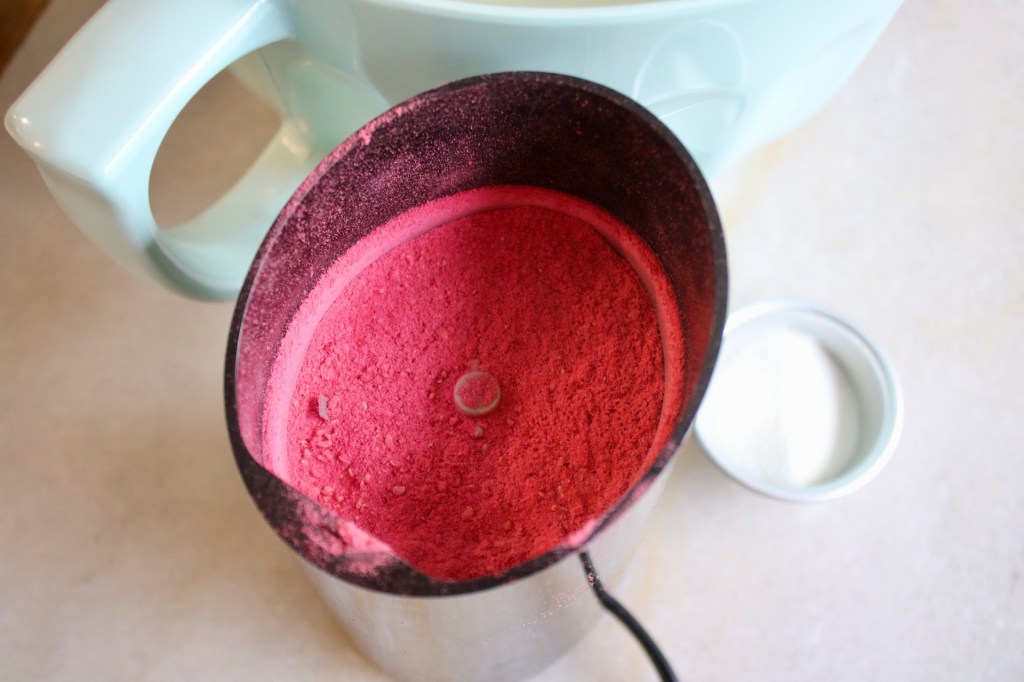
Last but not least: freeze-dried raspberries to mix into the whipped cream.
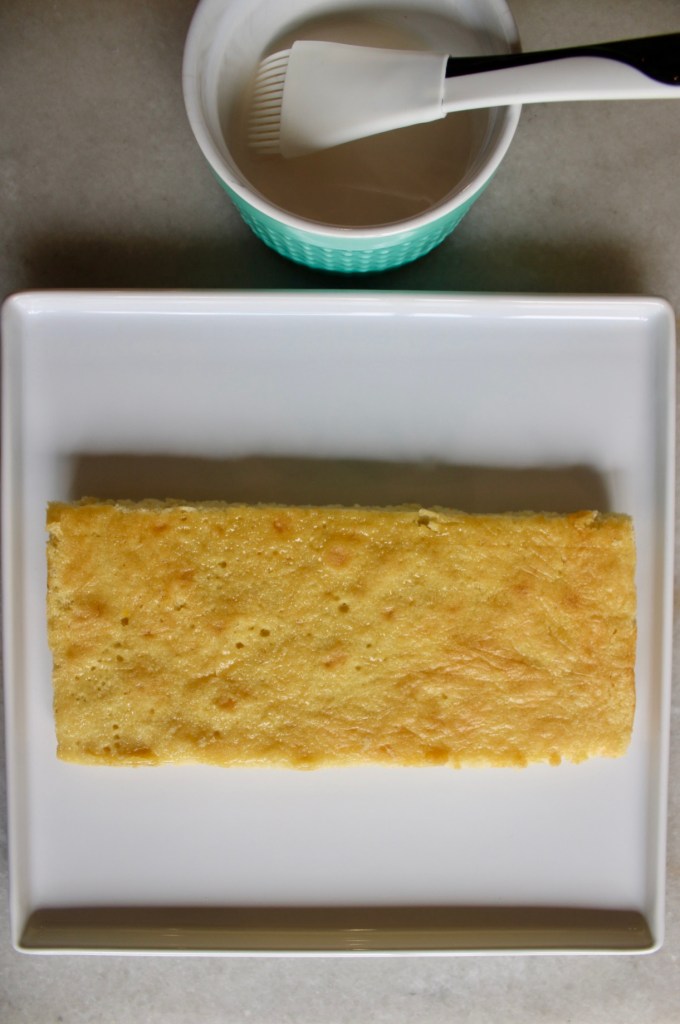
Assembly time! Giving each layer a vanilla milk soak.
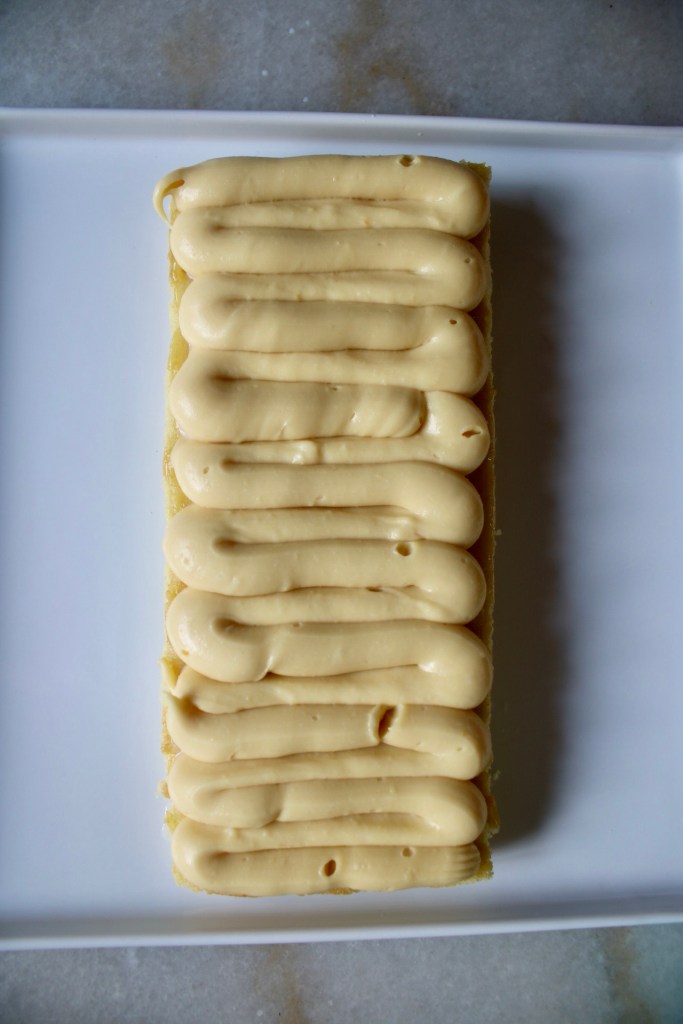
Success! The chocolate and gelatin worked their magic and held it in place.
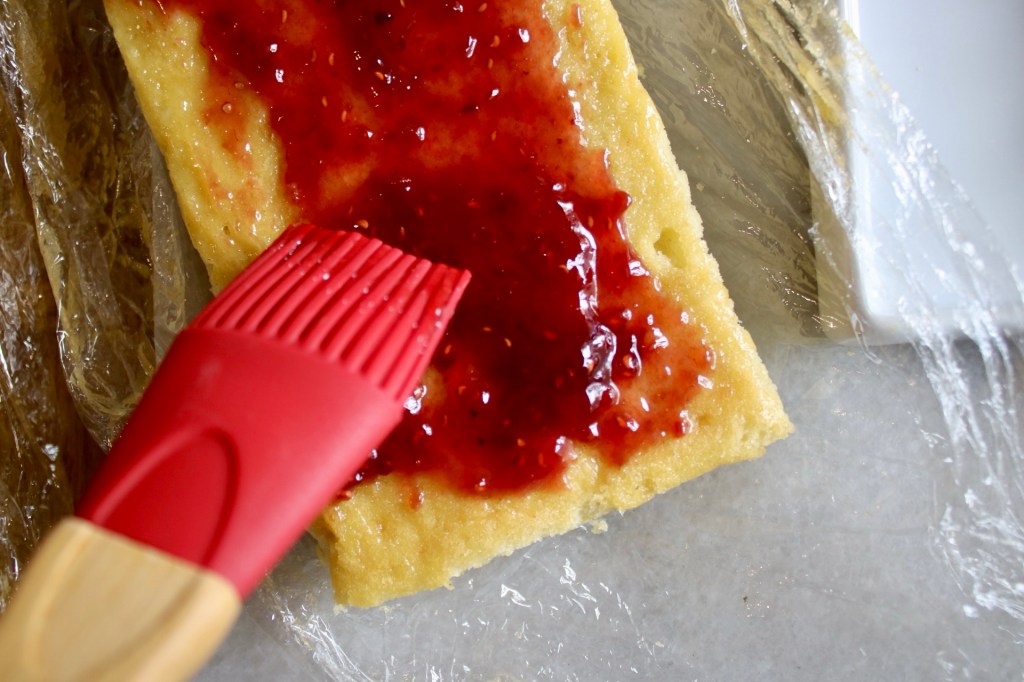
Painting jam on the bottom of the next layer then plopping it (carefully) on top of the crémeux layer.
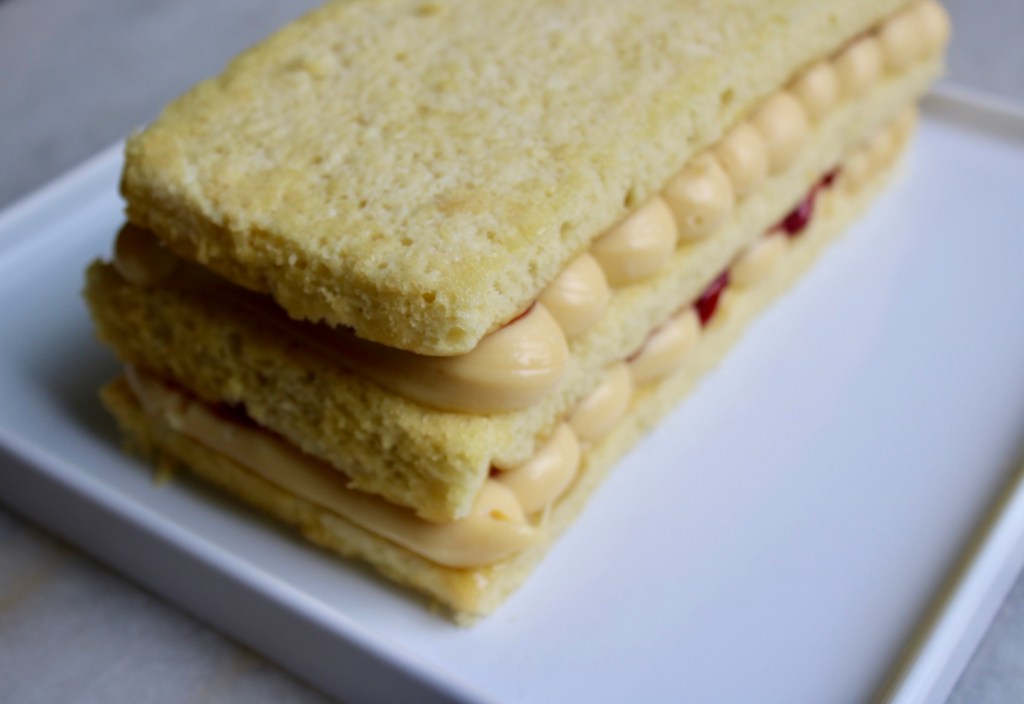
The fanciest Uncrustable you’ve ever seen.
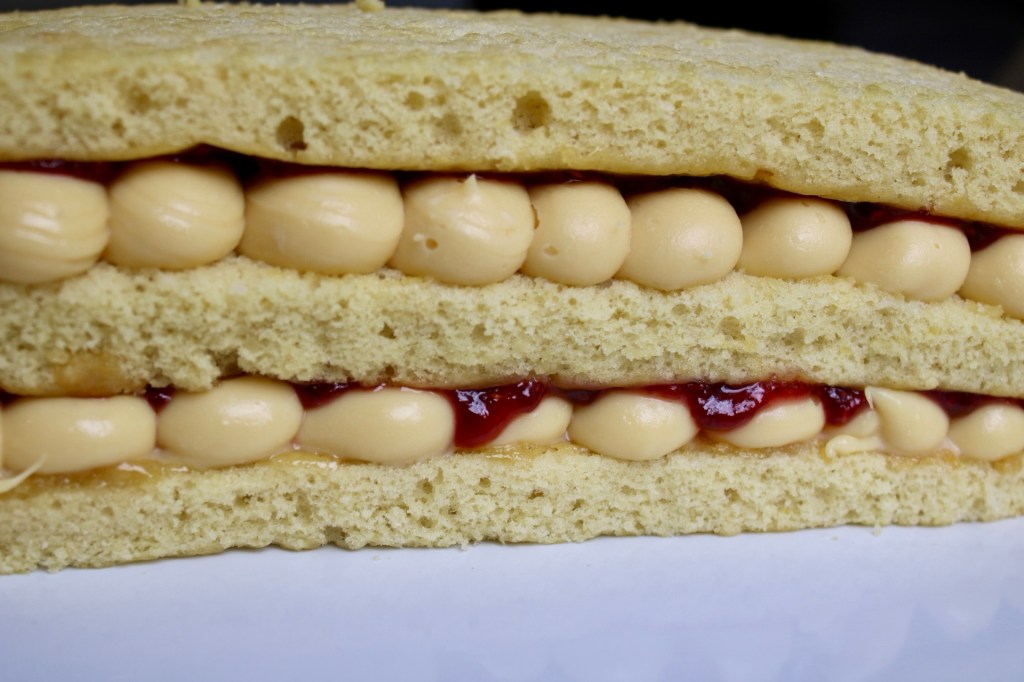
Ready for its whipped cream crown.
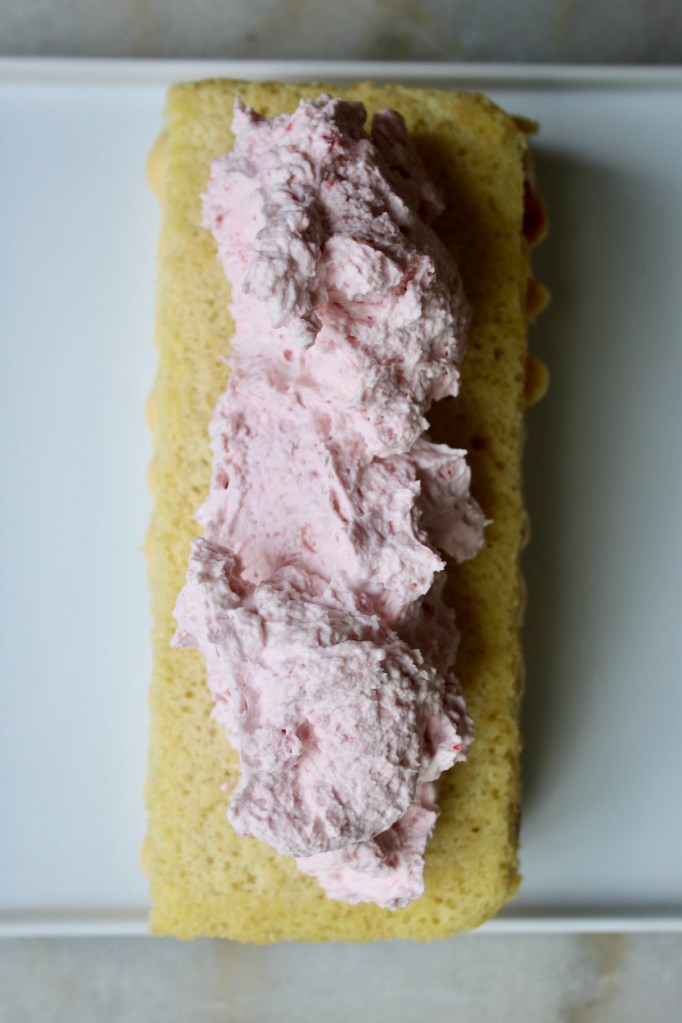
Just kidding, we need WAY more.
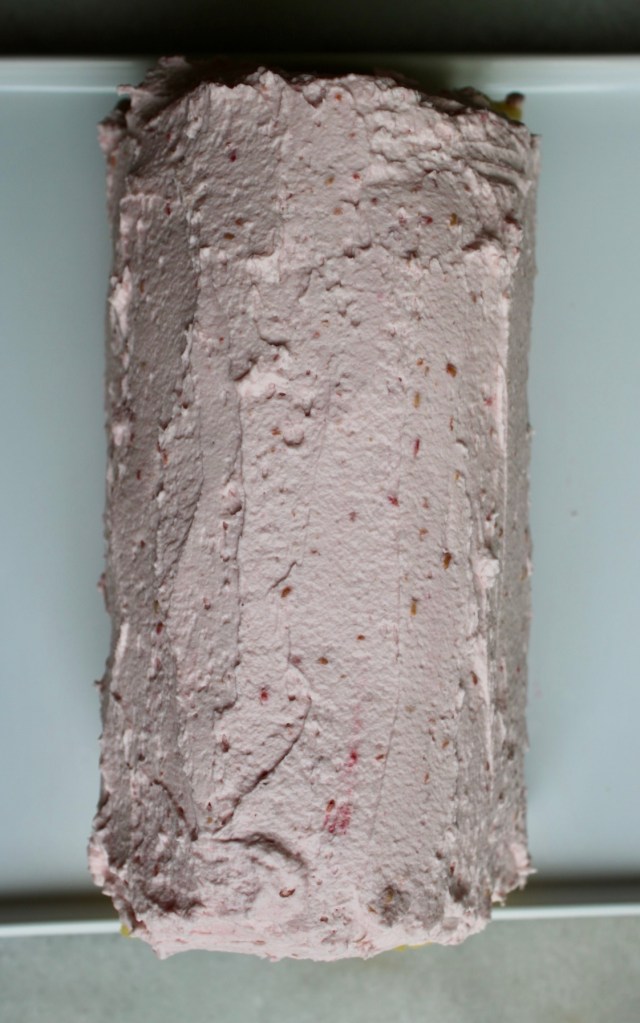
Much better.
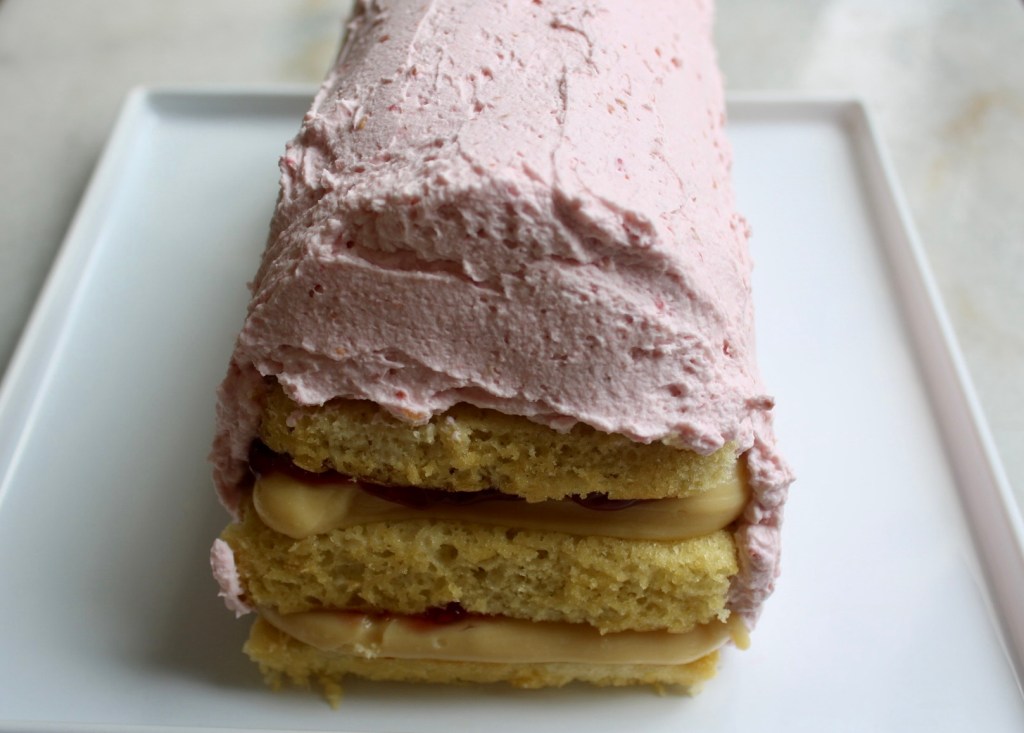
Let’s get this girl a jacket.
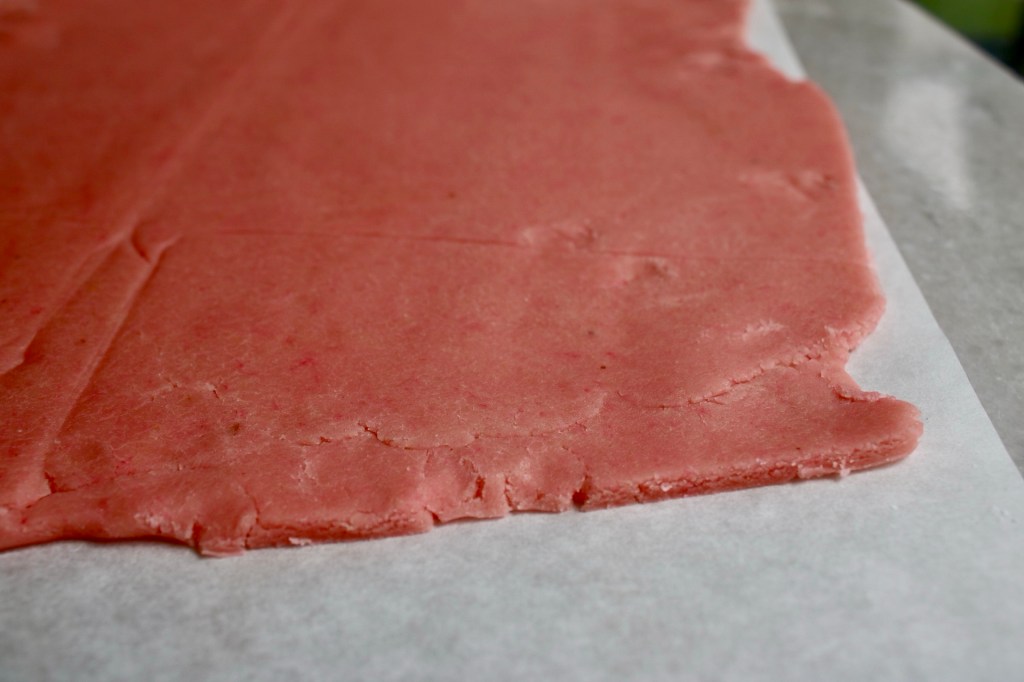
Crossing fingers it doesn’t crack!
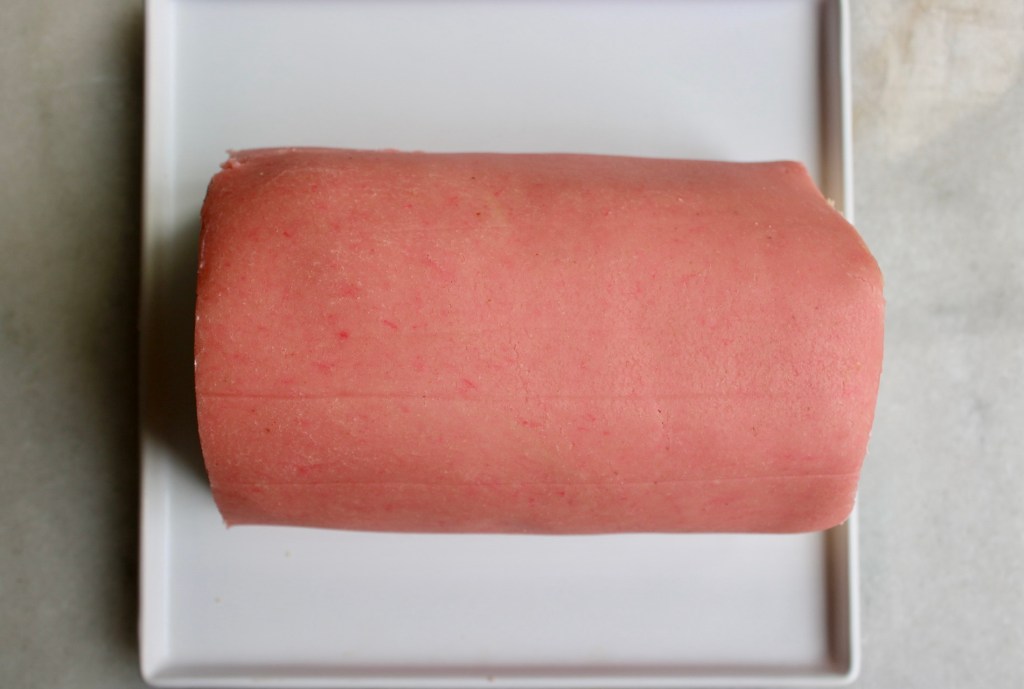
*happy dance*
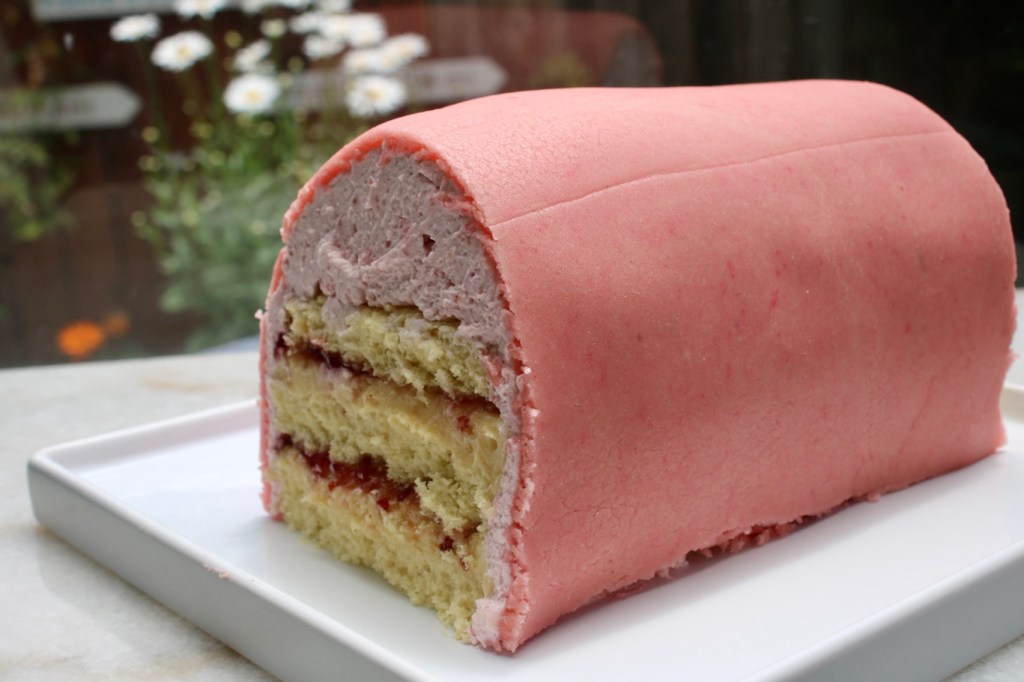
Chopping off the ends for a cleaner look.
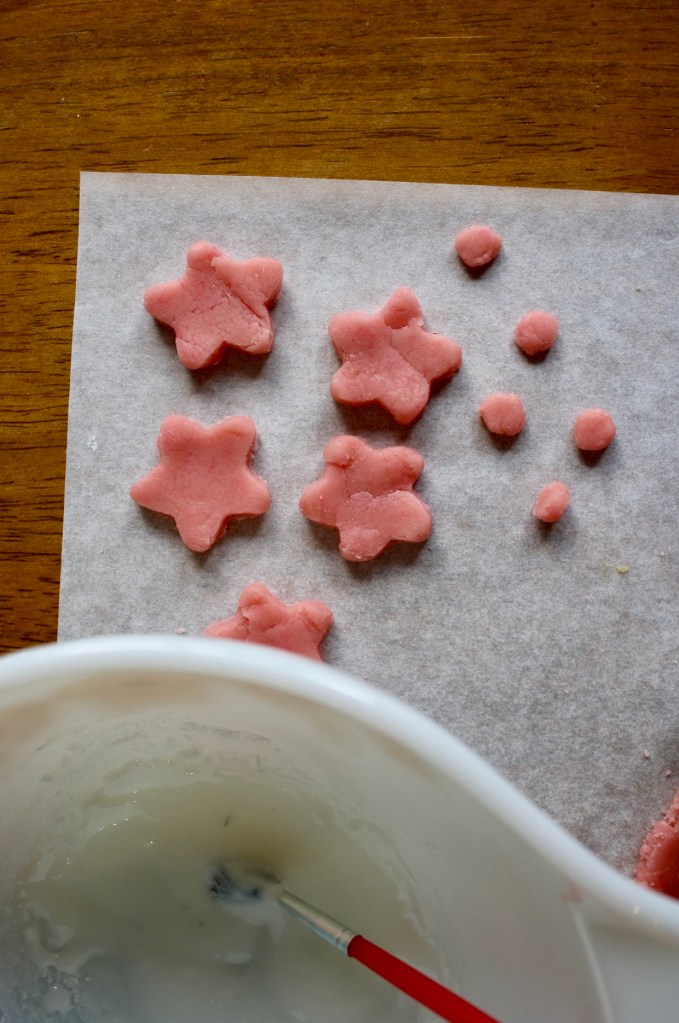
Second paintbrush of the day.
Ta-daa!
Happy munching!
Recipe from: Edd Kimber’s Chocolate Baking

