
My craving for chocolate led me to these happy fancy pudding cups. Week 6: Mississippi Mud Pies. (Realized while writing this that whenever I spell Mississippi, I start singing M-i-ess-ess-i-ess-ess-PP-i involuntarily in my head.)
There are so many ways to make Mississippi Mud Pies, but they all have the same elements: thickened chocolate cream, a crumb or pastry crust, and thick whipped cream.
I have found a tag-line for this project: “It’s OK, it still tastes good.” That’s the best part, actually. No matter how they look at the end, they’re always yummy.
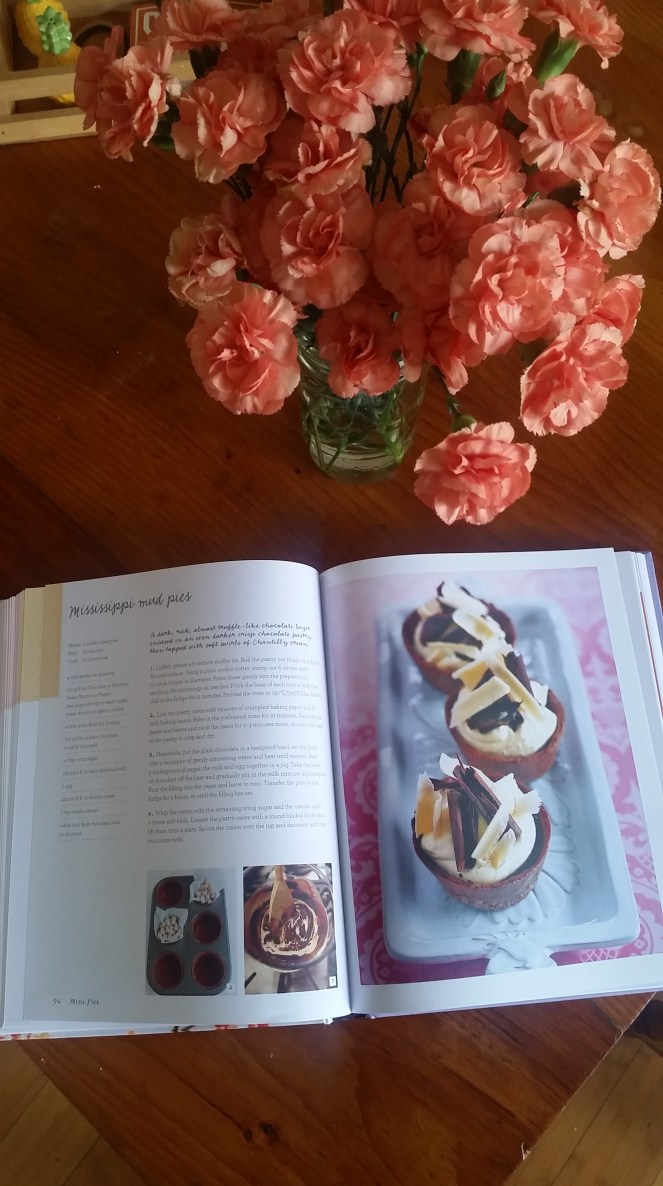
This is the first recipe I’ve made from my new mini-dessert baking book (thanks Jason!) and I’m so excited to make more. They are the perfect sharing size!


Let’s chat about life-saving baking appliances for a second. This food scale is my new fav kitchen gadget. (Ignore the zero grams on the screen, accidentally hit ‘tare’ button while positioning the picture.) Speaking of which, the tare button is magical. You put the empty bowl or container on the scale and you hit ‘tare’ to set that weight as zero grams. Then add ingredients to your heart’s desire! Gotta love accuracy.
The food processor is an oldie but goodie. It makes quick work of mixing dough and crusts, as well as munching up any nut or vegetable that gets in it’s way.


I really like this simple pastry dough – it was easy to assemble and has a lot of potential for flavorings. It’s super chill, ya know? Well not really, it only needed to chill for 15 minutes in the fridge. I would recommend investing in a graduated set of cookie cutters, I use them for everything! Ravioli, scones, pastry circles . . . All good things. This one is the 4 inch one. It just has to be big enough so the circle can line the inside of the muffin tin without breaking. Hint: you can make em any size! Next time, I’m going to roll the crust out thinner to see how it holds up. (Plus, it might increase the elegance of the individual pastry cups when they’re out of the pan.)

Don’t be shy, stab the little cups! You don’t want them to puff up, or you won’t have any space for filling. The next step is to weight it down a bit while it bakes. I had some beans on hand so they made do for this time, but I can’t wait to get some ceramic baking weights! I’ll refrain from puns, I promise.
Into the oven with ya!


Aren’t they cute though? The beans were mostly effective, but weren’t quite heavy enough to keep the dough completely flat and even. What time is it? Chocolate cream time!

Used my makeshift bain-marie to melt some semi-sweet chocolate before mixing it with milk, egg and sugar. Once combined (took more whisking than I thought it would), I poured them into their chocolate pastry tubs and popped them in the fridge to set.

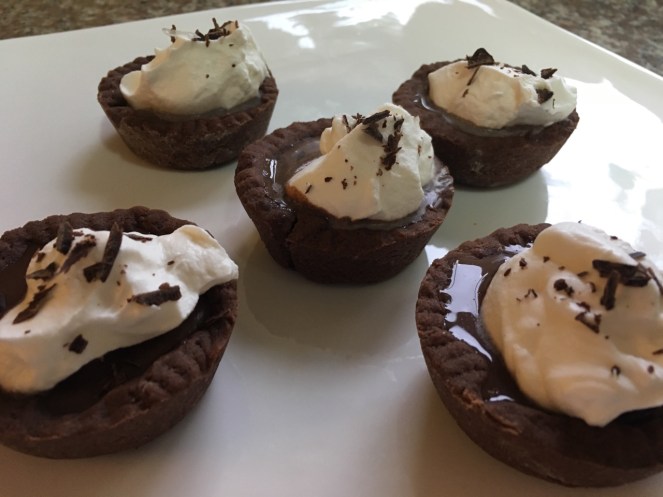
Whipped up some chantilly cream (sweet, vanilla whipped cream) to plop on top.
Chocolate curls are a mystery to me. I decided to wing it at first, attempting to scrape the chocolate bar with a knife (chose poorly). This tiny shavings were the result.
Then I backtracked and looked up tips and tricks for how to make curls and ribbons (chose wisely). Apparently, it’s better to melt the chocolate with an oil (I used shortening) first, and then let it solidify again. My attempts yielded one or two nice curls, which promptly melted when I picked them up. Ah well. Practice makes better!

On the other half of the little pies, I piped the cream to the top instead. Much happier with the results! Fun fact: piping is probably my favorite part of any recipe. It’s like painting with frosting!
All in all, a fun week 6 bake. Definitely satisfied the chocolate craving!
Recipe from Mini Delights, Parragon Books Ltd
