
Shortbread, but make it fashion. # 247: Checkerboard Shortbread

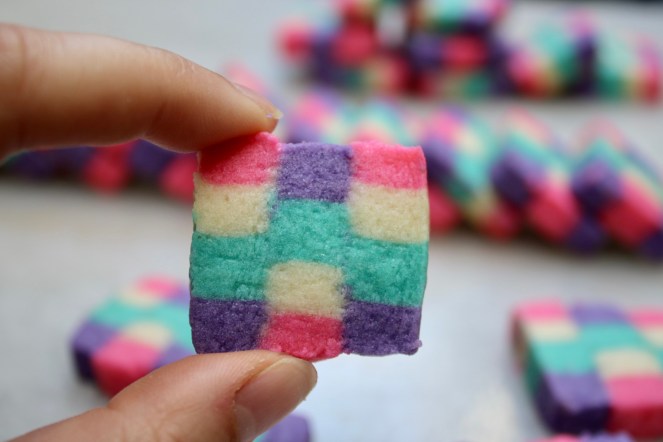
Do they look a bit like playdoh? Maybe. Do they taste way better? I promise!

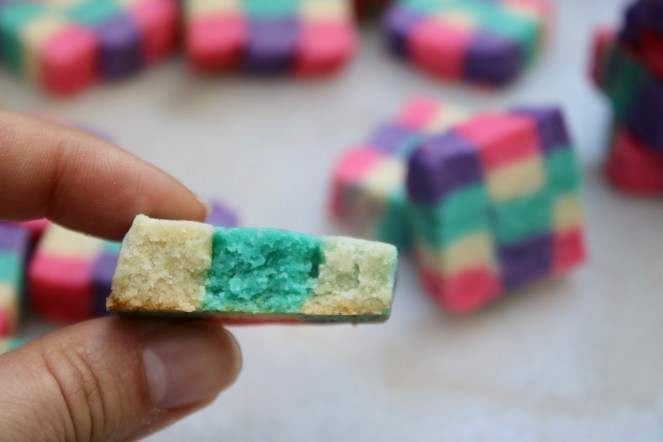
Checkerboards make me think of neat rows and even spacing. These cookies are delightful and whimsical, but neat and even? Nope. They’ve almost got some movement, like flags waving in the wind.
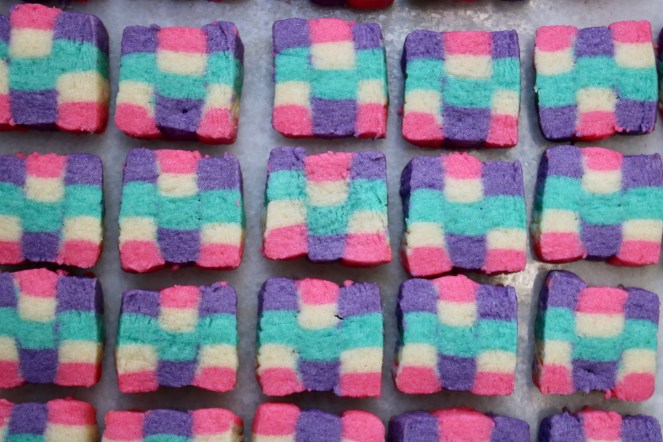
Next time I’ll make them larger, in classic black and white and find mini chess pieces to set up a miniature game. If you start to lose, you can just eat the board!

They might not work as chessboards, but they work great as dominoes!

I went rogue and didn’t use my new favorite shortbread recipe. (I know, shame.) This dough was easy enough to work with, but I can now say that adding an egg doesn’t change the texture in any significant way. Back to my favorite recipe next time:
- 1 cup unsalted butter, room temperature
- ¼ cup brown sugar
- ¼ cup sugar
- 1 teaspoon vanilla extract
- 1 ¾ cups all-purpose flour
- ½ cup cornstarch
- ¼ tsp salt
Cream together the butter and sugars. Mix in the flour and cornstarch until barely combined.
Tip the dough onto a clean work surface (no flour needed!) and lightly squish it into a ball. Then either roll it out into a log or flat if you’re doing fun shaped cookies. Either way, parchment paper is your friend here. Refrigerate the dough for 30 mins.
Preheat the oven to 350 degrees. Slice the log, or cut out your shapes and place on a parchment paper-lined pan.
Bake for about 12-15 minutes. They’ll look pale even when fully cooked! If you like them a little on the crispy side (I’ll try not to judge), wait for golden brown edges.
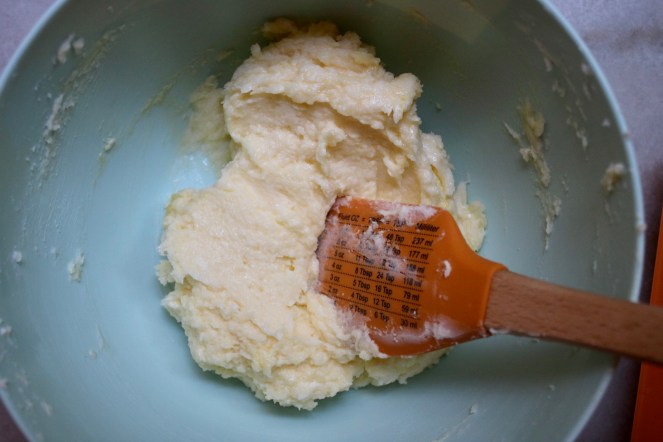
My butter was actually fully room temperature this time (!!!) so creaming by hand was a breeze.
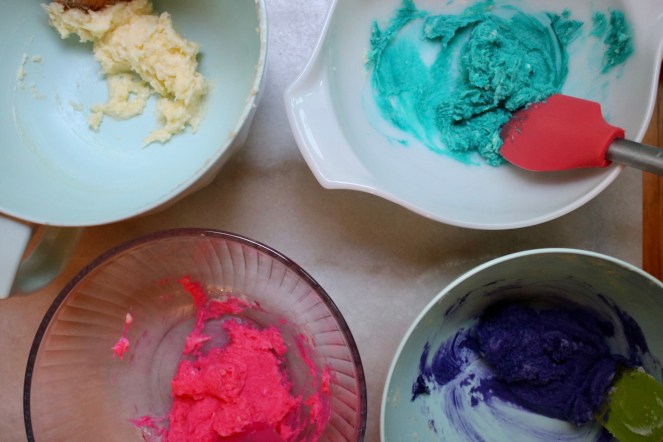
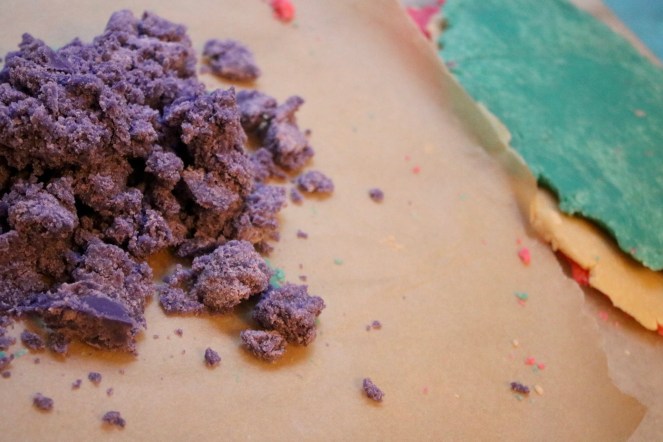
This is where the chaos comes in. Split the pre-flour dough into as many bowls as colors you’re using. You don’t want to overmix the dough once the flour is added, as that will encourage gluten formation and make you a tough cookie (literally.) Adding in the food coloring at this stage gives you the freedom to mix as much as you need to get the color to be uniform. Just remember that a little bit of food coloring goes a long way! Mine are “neon” so they’re supposed to be bright, but nothing edible should ever be that color pink or purple, oops.
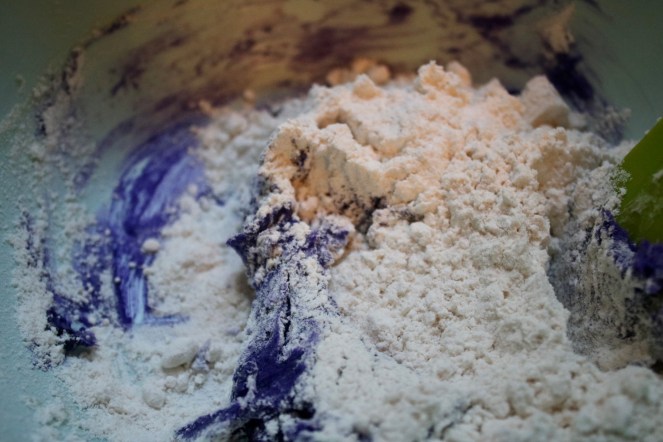
Luckily, the flour muted the color a bit. Whew!

So. Pink.
Purple, getting ready to join the other gently wrangled layers.
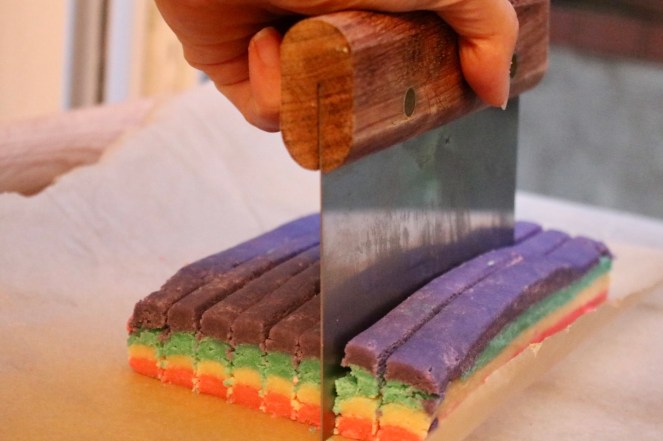
Chilling is your best friend! They are way easier to cut after 15 minutes in the freezer, or 30 minutes in the fridge if you’re rolling in spare time.

After making these, I got a sponsored video on Instagram (thanks algorithm) for a professional baker making checkerboard shortbread. They painted an egg wash between each layer to help them stick together. So smart! No gaps or sliding when slicing the cookies. Definitely keeping it in the back of my mind for next time.

Most satisfying step of the whole process.
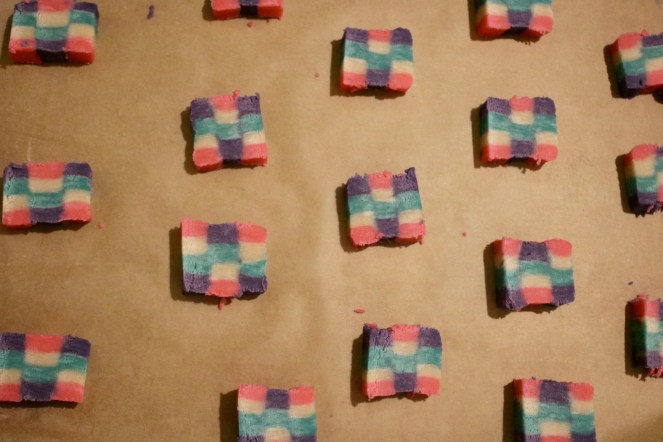
All I can picture now are little shortbread flags waving in the breeze.

Very pleased that they kept their shape while baking. Thank you, freezer!
Do you know how many times I accidentally typed checkerbread in this post? Many, many times.
Happy munching!

2 thoughts on “Checkerboard Shortbread”