
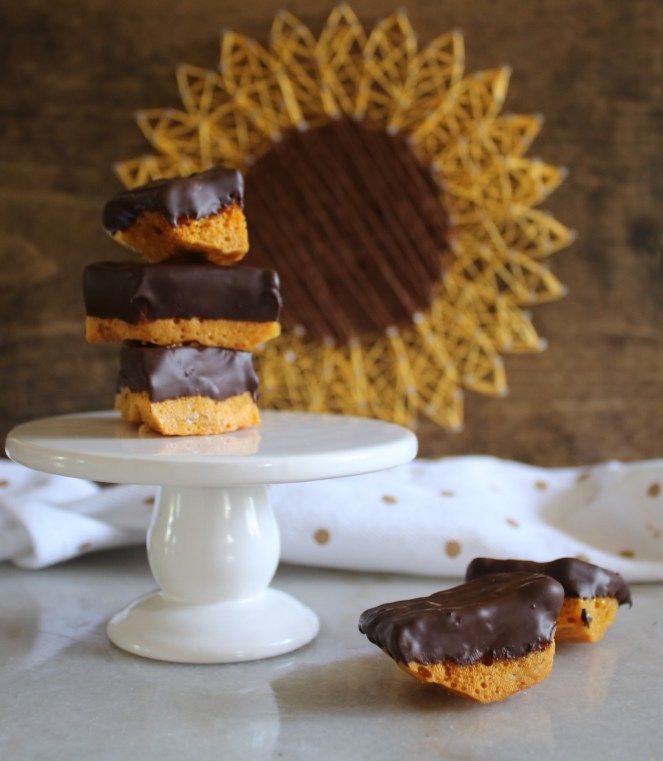
Simple and sweet, these crunchy candies are a throwback to middle school science projects. # 123: Dark Chocolate Honeycomb

I’m not a huge candy person myself, but these mysteriously crunchy hunks of sugar dunked in chocolate caught my attention. I was watching the Great American Baking Show (surprise surprise) and one of the bakers made honeycomb to add as a crunchy component to her layer cake. Watching her make it was fascinating!

It’s basically a honey caramel with baking soda added, to magical effect. As soon as the baking soda is stirred in, the mixture poofs up to quadruple it’s normal size! Did any of you make a volcano in science class way back when? This is slightly less messy, but the same idea.

The baking soda reacts with the acid found in the rest of the ingredients (brown sugar, honey, corn syrup) and releases tons of tiny carbon dioxide bubbles. This increased bubble structure allows the texture to be softer – biteable, if you will – instead of hard candy that you could break your teeth on.

The ingredients are terrifying:
- granulated sugar
- honey (which is sugar)
- corn syrup (another form of sugar)
- baking soda
- water
- dark chocolate (phew, something healthy!)
But you don’t reach for a piece of candy for health reasons.
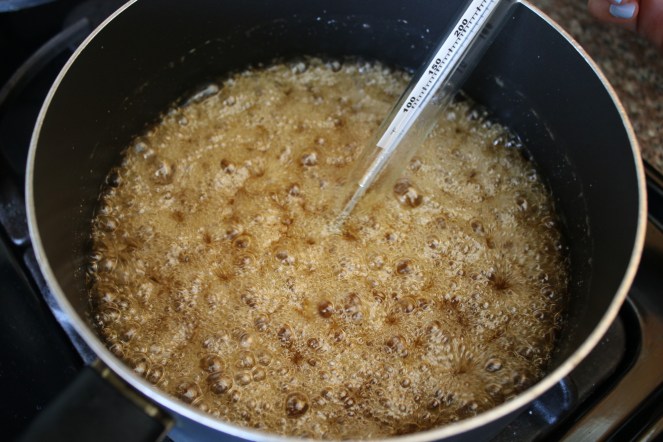
Waiting for candy to reach 300F (the beginning of hard crack stage) is like waiting for a microwave burrito to heat up when you’re starving – neverending torture. It was super warm in my kitchen and I have to hold my candy thermometer to keep it from slipping down into the pot, so it seemed much longer than the 10 or so minutes it took to get to the right temperature.

I need a taller pot so the thermometer can clip on to the side, but it seems like a single-use item so I haven’t gotten one yet. If I ever start making candy on a regular basis then I’ll go raid TJ Maxx or Marshalls for a tall pot just for cooking sugar.

POOF! I added the baking soda and whisked up a storm.

It’s aliiiiiive!
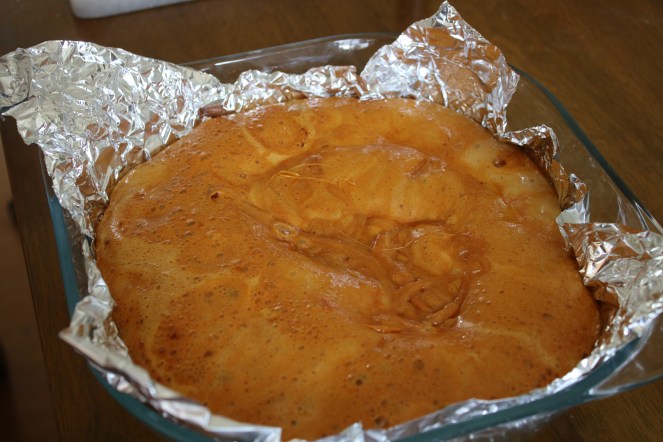
You gotta work semi-quickly or the candy will start to set in the bowl. Scoop it out in a lined pan and let sit at room temperature until solid. Also: always remember to oil your foil! You’ll be very sad once the candy fuses to the foil forever.

I chose an 8″ x 8″ because I wanted thick pieces, but if you use a 9″ x 13″ or even a half sheet pan, you can get thin shards that are perfect for decorating cakes!
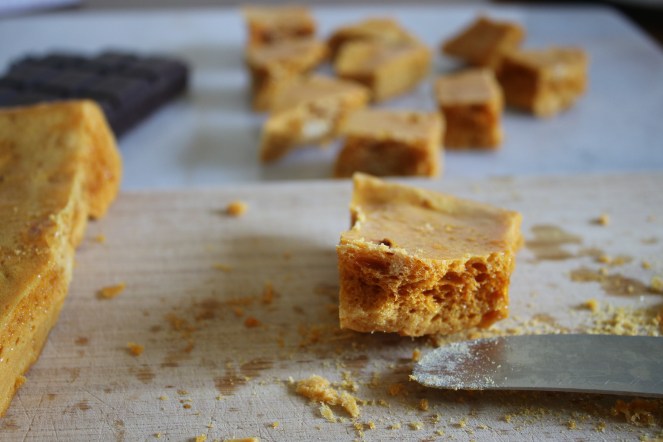
Weirdly enough, the dull butter knife was more effective at slicing honeycomb than the sharp knife. Less dangerous for sure!
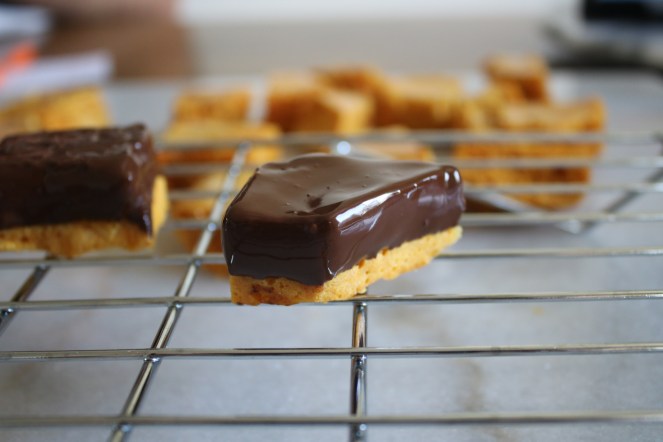
Dip, dunk, swirl, or drizzle. Whatever method you prefer! I liked the clean lines and geometric vibes from dunking. The recipe called for shortening mixed in with the chocolate but I didn’t use it (why mess with perfect dark chocolate?
Happy munching (and crunching! This is a loud treat.)
Recipe from:
https://www.thespruceeats.com/chocolate-dipped-honeycomb-521371

I’m gonna have to give this one a try.
LikeLiked by 1 person
Reblogged this on mamabatesmotel.
LikeLike
“Hi! I love how informative and great your articles are. Can you recommend any other Food Blog Names or blogs that go over the same topics? Thanks a lot!”
LikeLiked by 1 person
The first resource online that comes to mind is The Kitchn website! They have countless articles on the science behind recipes and tips on how to improve. It’s always more interesting to me to make a recipe when I know what’s causing the magic behind it!
LikeLike